【NNDL作业】图像锐化后,为什么“蒙上了一层灰色”?
目录
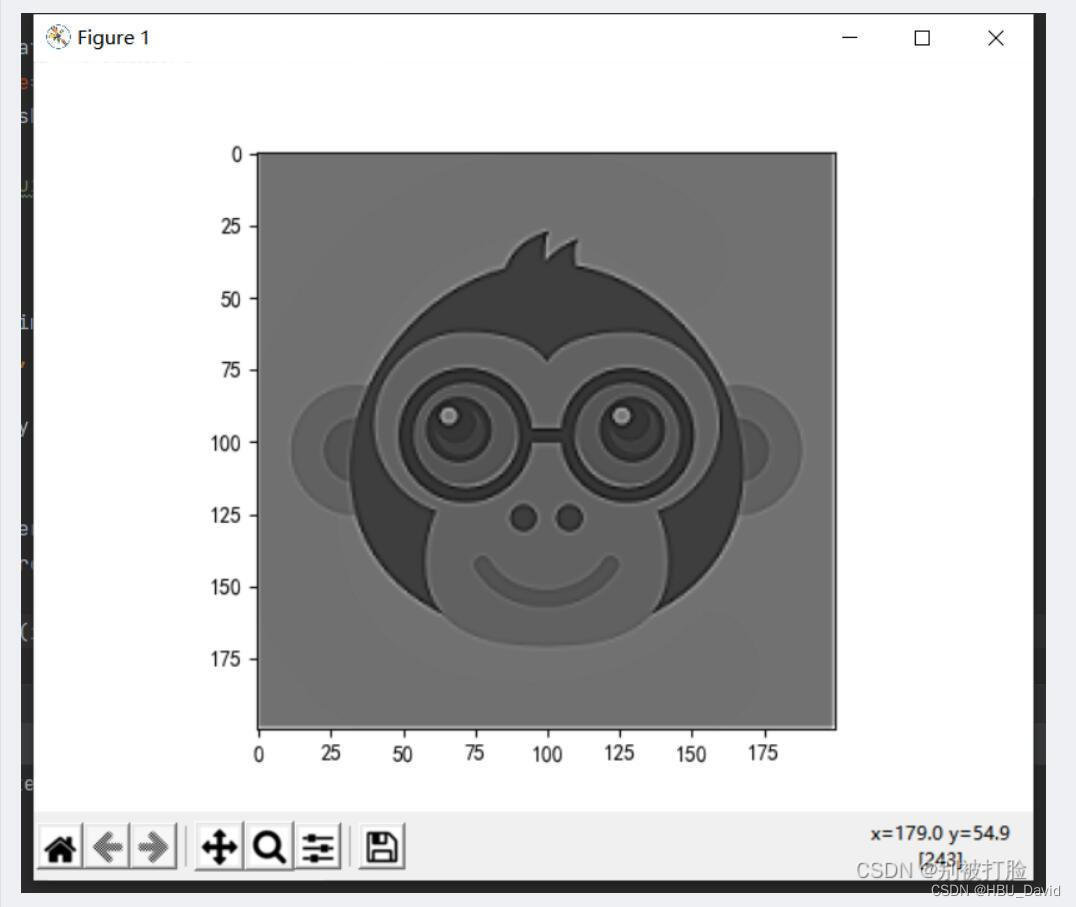
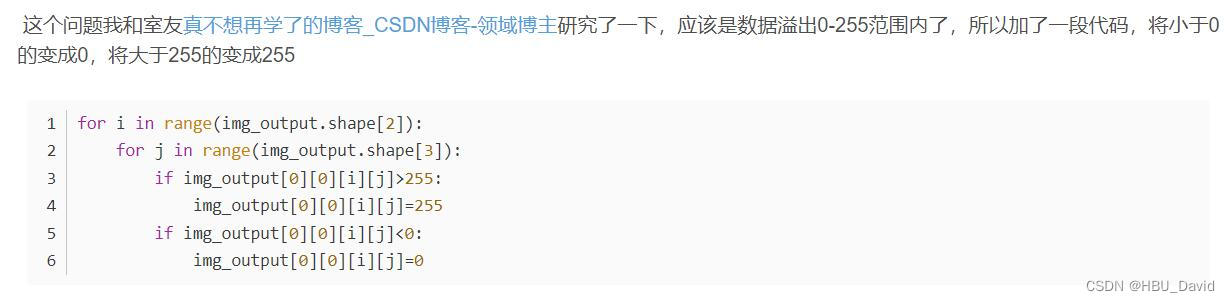
图像“蒙上灰色”的原因:出现了大于255,小于0的情况
顺着同学的思路,继续思考了一下 (0-255)之外的数据
官方文档
norm Normalize, optional
vmin, vmax float, optional
结论:设置imshow参数 vmax,vmin 可以解决问题
效果对比
源代码
别被打脸的作业中提到:
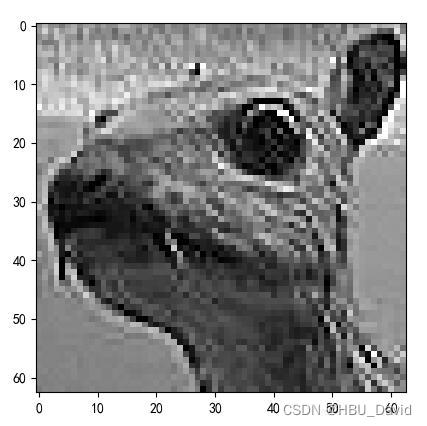
大家可能在输出时发现,图像会出现一种灰色的现象,也就是下边的现象。
图像“蒙上灰色”的原因:出现了大于255,小于0的情况
对此最好的解决,其实是归一化的东西,也就是,找一种类似于映射的东西,把它全都投影到0到255,这样临近点之间的关系并不会丢失,这样一定会有完整的图像。
由于图像是由像素点之间的关系体现出来的,所以最好的解决办法是映射,其次是换一个卷积核,再其次是就是我下边说的比较偷懒的方法。
源代码:
# coding=gbk
import numpy as np
import torch
from torch import nn
from torch.autograd import Variable
from PIL import Image
import matplotlib.pyplot as plt

plt.rcParams['font.sans-serif'] = ['SimHei']  # 用来正常显示中文标签
plt.rcParams['axes.unicode_minus'] = False  # 用来正常显示负号 #有中文出现的情况,需要u'内容
# https://blog.csdn.net/weixin_40123108/article/details/83510592
file_path = 'csdn.jpg'
im = Image.open(file_path).convert('L')  # 读入一张灰度图的图片
im = np.array(im, dtype='float32')  # 将其转换为一个矩阵
print(im.shape[0], im.shape[1])

plt.imshow(im.astype('uint8'), cmap='gray')  # 可视化图片
plt.title('原图')
plt.show()

im = torch.from_numpy(im.reshape((1, 1, im.shape[0], im.shape[1])))
conv1 = nn.Conv2d(1, 1, 3 ,bias=False,padding=1)  # 定义卷积

sobel_kernel = np.array([[0, -1, 0],
                         [-1, 5, -1],
                         [0, -1, 0]], dtype='float32')  # 定义轮廓检测算子
sobel_kernel = sobel_kernel.reshape((1, 1, 3, 3))  # 适配卷积的输入输出
conv1.weight.data = torch.from_numpy(sobel_kernel)  # 给卷积的 kernel 赋值

edge1 = conv1(Variable(im))  # 作用在图片上
for i in range(edge1.shape[2]):
    for j in range(edge1.shape[3]):
        if edge1[0][0][i][j]>255:
            edge1[0][0][i][j]=255
        if edge1[0][0][i][j]<0:
            edge1[0][0][i][j]=0
x = edge1.data.squeeze().numpy()

print(x.shape)  # 输出大小

plt.imshow(x, cmap='gray')
plt.show()
处理后和处理前的效果:

对比一下,效果很明显。
发现问题并解决问题,非常好的实验。
NNDL 作业5:卷积_别被打脸的博客-CSDN博客
别被打脸 ;真不想再学了; 不是蒋承翰
室友三人共同探讨解决问题,学习氛围很好,一定要继续保持。
顺着同学的思路,继续思考了一下 (0-255)之外的数据
matplotlib.pyplot.imshow() 是如何处理的?
应用matplotlib的imshow函数显示彩色图像(RGB data)报错的解决方法提到:
对于二维数组(灰度图像),函数会自动将输入数据归一化变换至[0,1],然后显示。
Plt imshow没有自动处理负值(python)提到:
imshow通过适当缩放亮度值自动处理负值,因此最小(负值)值将显示为黑色,接近零的值将显示为灰色,而最高值将显示为白色。
图像的像素值为负是什么情况? 提到:
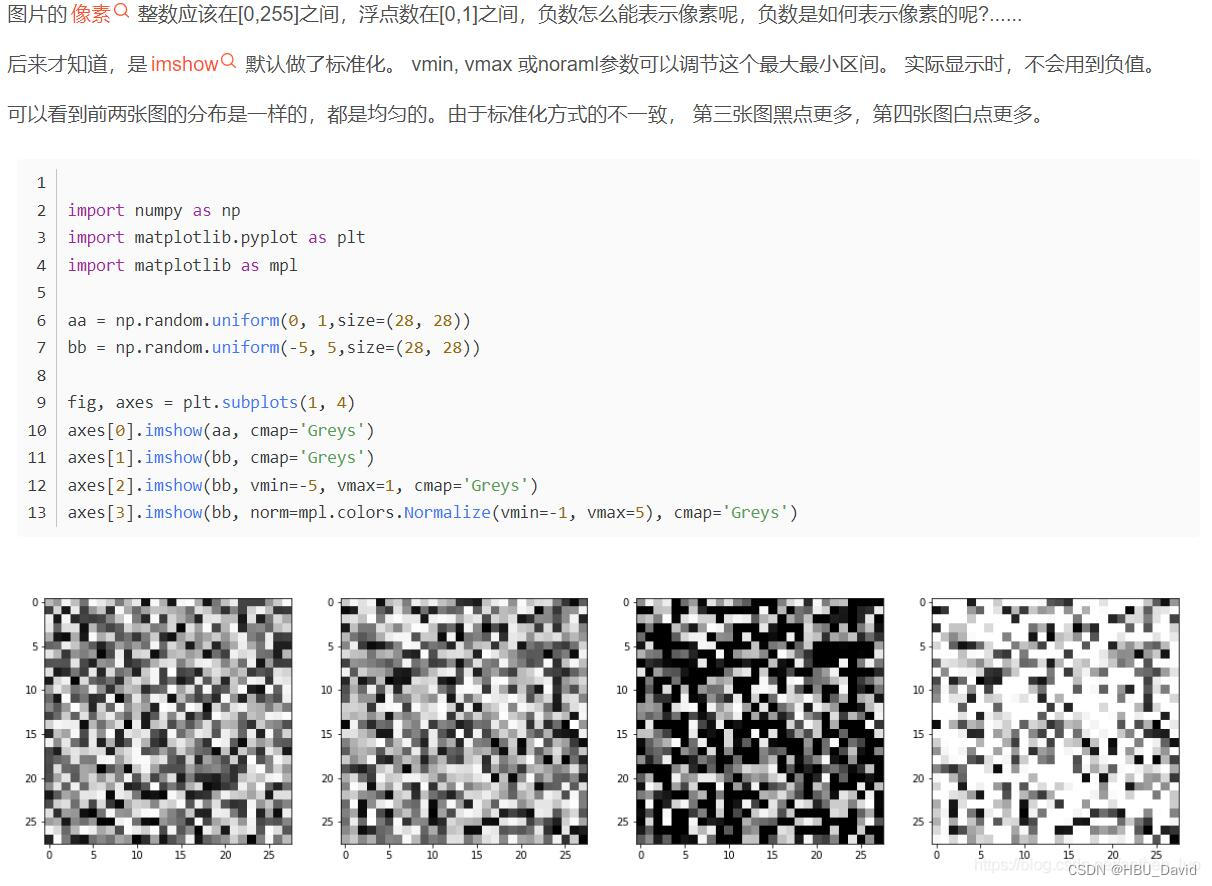
官方文档
matplotlib.pyplot.imshow
norm Normalize, optional
The Normalize instance used to scale scalar data to the [0, 1] range before mapping to colors using cmap.
By default, a linear scaling mapping the lowest value to 0 and the highest to 1 is used.
This parameter is ignored for RGB(A) data.
vmin, vmax float, optional
When using scalar data and no explicit norm, vmin and vmax define the data range that the colormap covers.
By default, the colormap covers the complete value range of the supplied data.
It is an error to use vmin/vmax when norm is given.
When using RGB(A) data, parameters vmin/vmax are ignored.
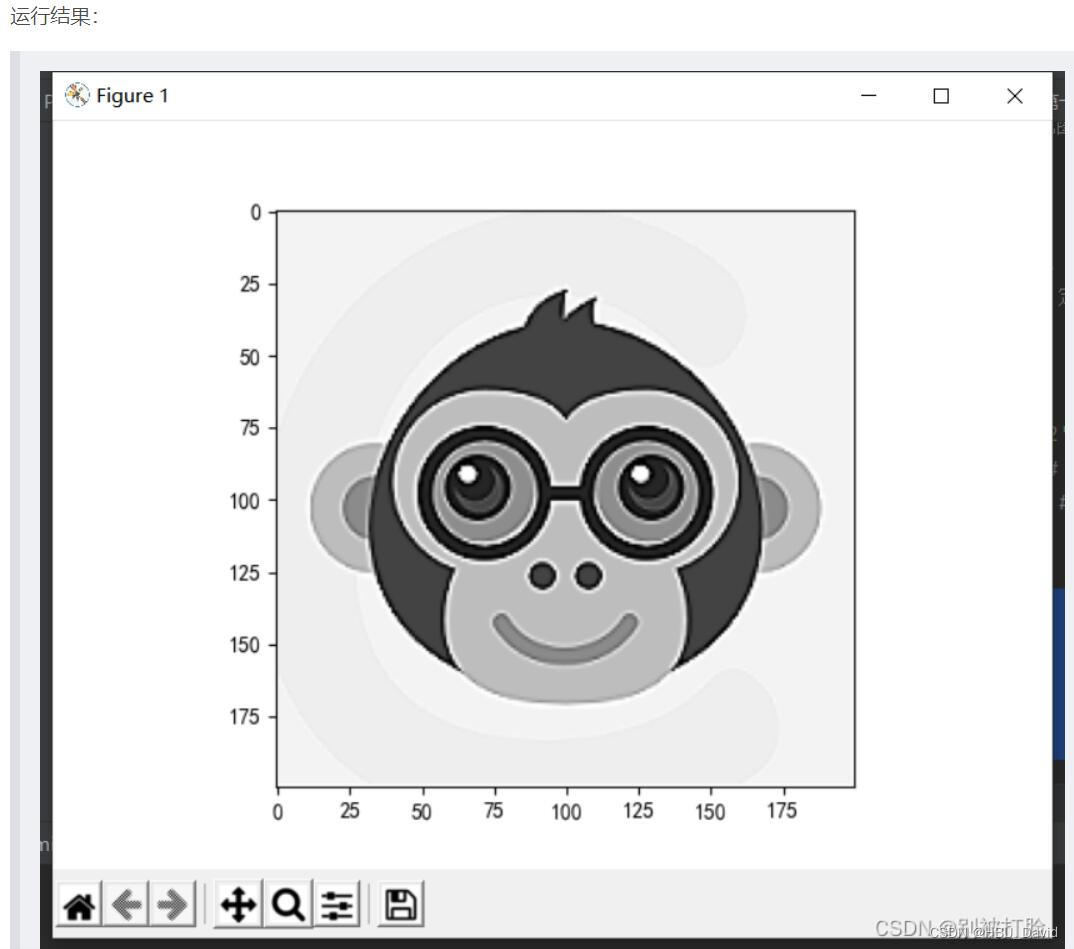
结论:设置imshow参数 vmax,vmin 可以解决问题
plt.imshow(x, cmap='gray', vmin=0, vmax=255)
效果对比
依次为:原图 - 锐化后 - 同学的方法 - 设置参数的方法


源代码
import numpy as np
import torch
from torch import nn
from torch.autograd import Variable
import torch.nn.functional as F
from PIL import Image
import matplotlib.pyplot as plt
plt.rcParams['font.sans-serif'] = ['SimHei'] # 用来正常显示中文标签
plt.rcParams['axes.unicode_minus'] = False # 用来正常显示负号 #有中文出现的情况,需要u'内容
# https://blog.csdn.net/weixin_40123108/article/details/83510592
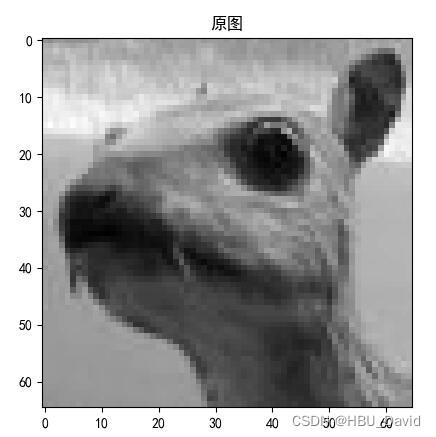
file_path = 'deer.jpg'
im = Image.open(file_path).convert('L') # 读入一张灰度图的图片
im = np.array(im, dtype='float32') # 将其转换为一个矩阵
print(im.shape[0], im.shape[1])
plt.imshow(im.astype('uint8'), cmap='gray') # 可视化图片
plt.title('原图')
plt.show()
im = torch.from_numpy(im.reshape((1, 1, im.shape[0], im.shape[1])))
conv1 = nn.Conv2d(1, 1, 3, bias=False) # 定义卷积
sobel_kernel = np.array([[0, -1, 0],
[-1, 5, -1],
[0, -1, 0]], dtype='float32') # 定义轮廓检测算子
sobel_kernel = sobel_kernel.reshape((1, 1, 3, 3)) # 适配卷积的输入输出
conv1.weight.data = torch.from_numpy(sobel_kernel) # 给卷积的 kernel 赋值
edge1 = conv1(Variable(im)) # 作用在图片上
x = edge1.data.squeeze().numpy()
print(x.shape) # 输出大小
print(x)
plt.imshow(x, cmap='gray', vmin=0, vmax=255)
plt.show()
其他解决方案
[2022-10-09]神经网络与深度学习 hw5 - 卷积_三工修的博客-CSDN博客

img_new = torch.clamp(img_new,0.,255.)