(Qt) 子组件绘制QPainter
文章目录
- 前言
- 效果
- 源码
- .pro
- main.cpp
- widget.h
- widget.cpp
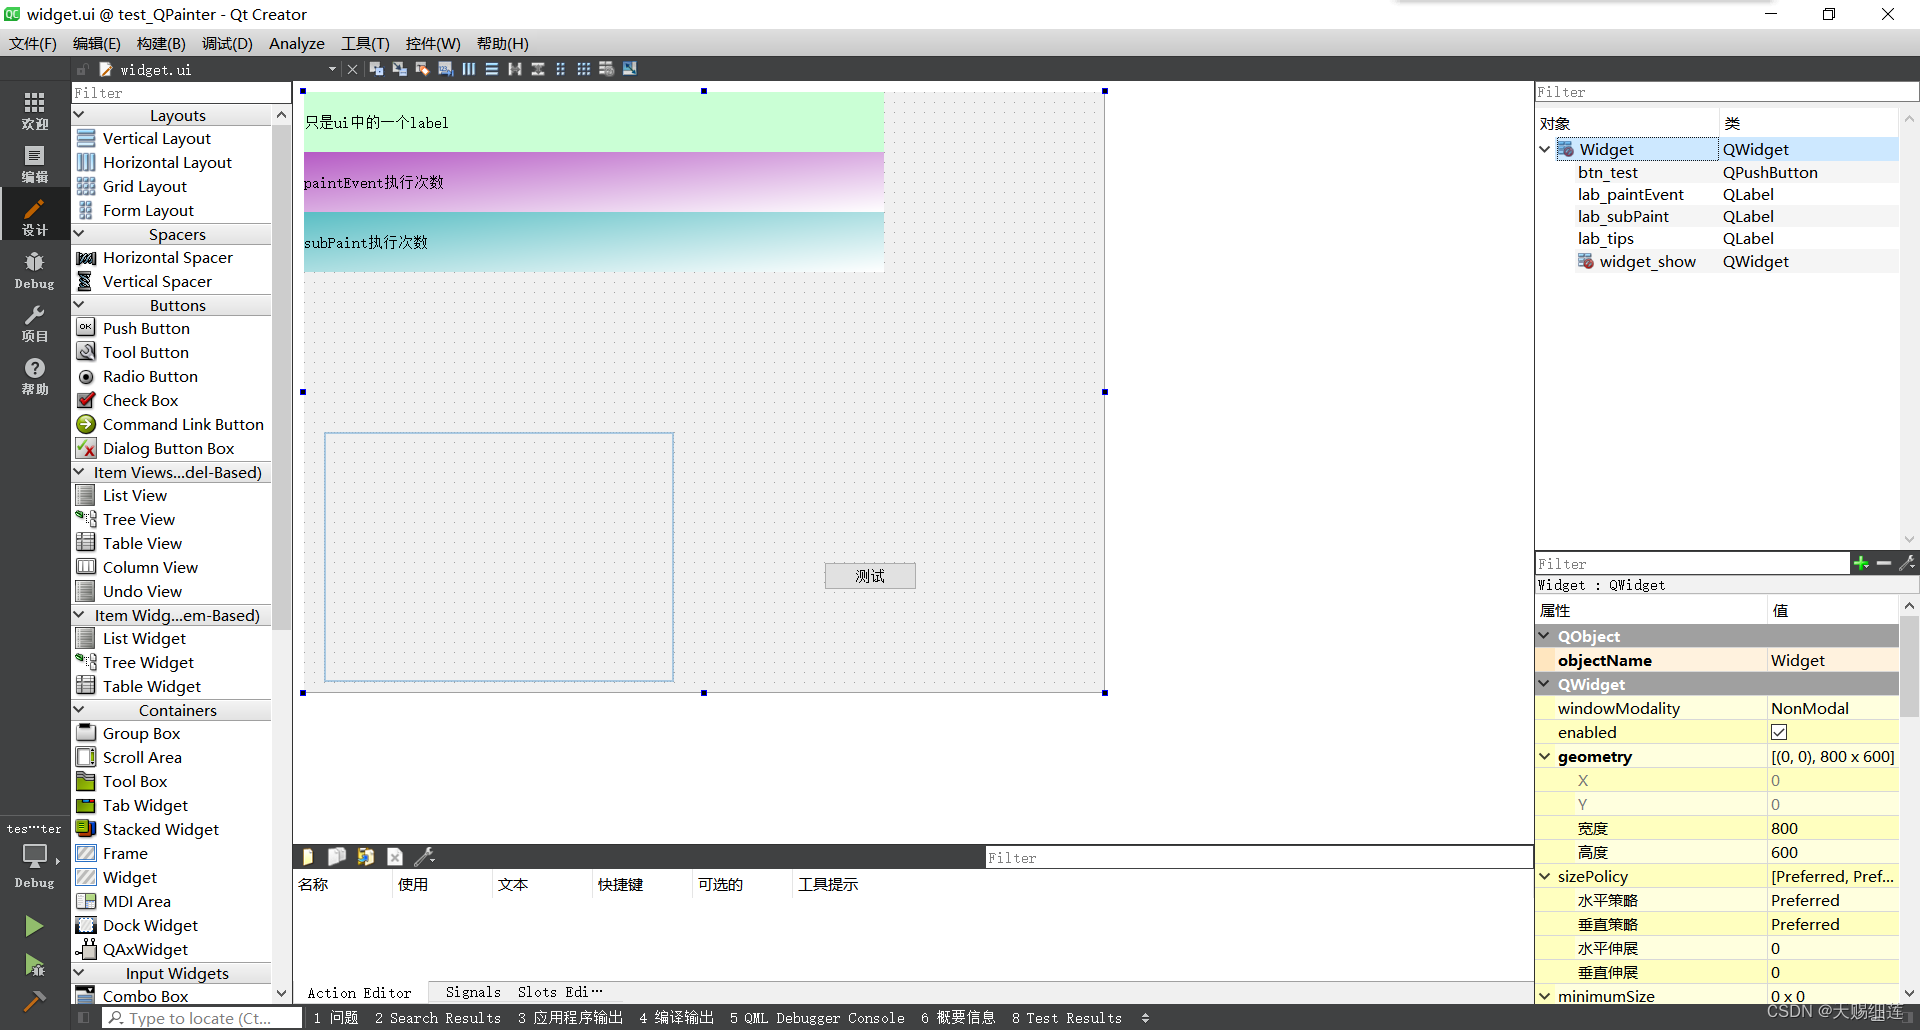
- widget.ui
- 代码讲解
- 设置事件过滤
- override eventFilter
- 事件响应函数
- 手动触发
- 效果讲解
- END
前言
一般绘制QPainter都会通过void paintEvent(QPaintEvent *event) override;完成
但是这样只能在当前this中绘制图像,若想要绘制在this->ui->subui中的话需要用其他方式
本文讲解使用事件过过滤的方式来实现该效果
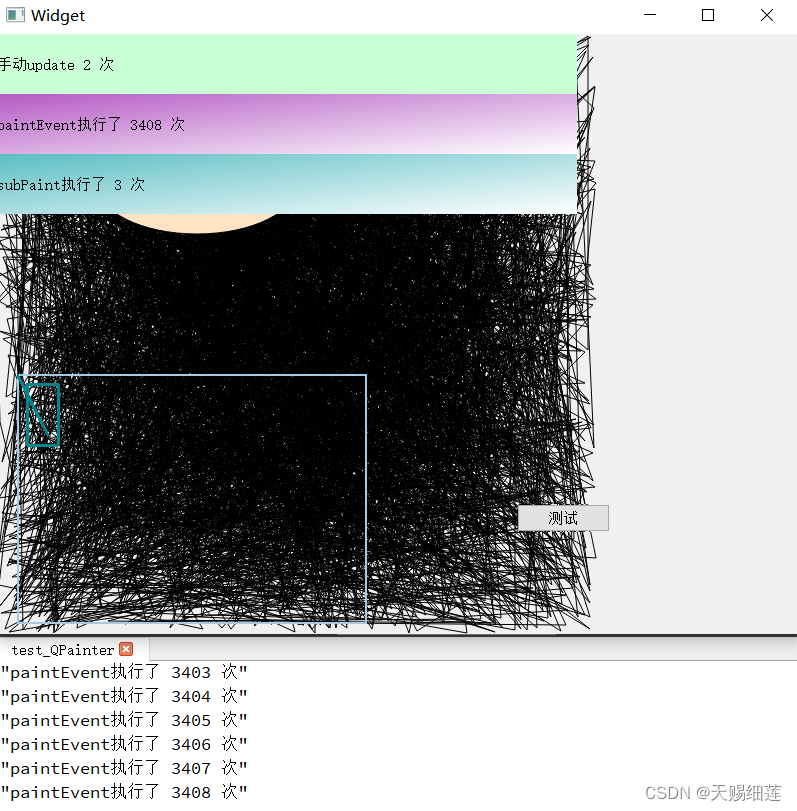
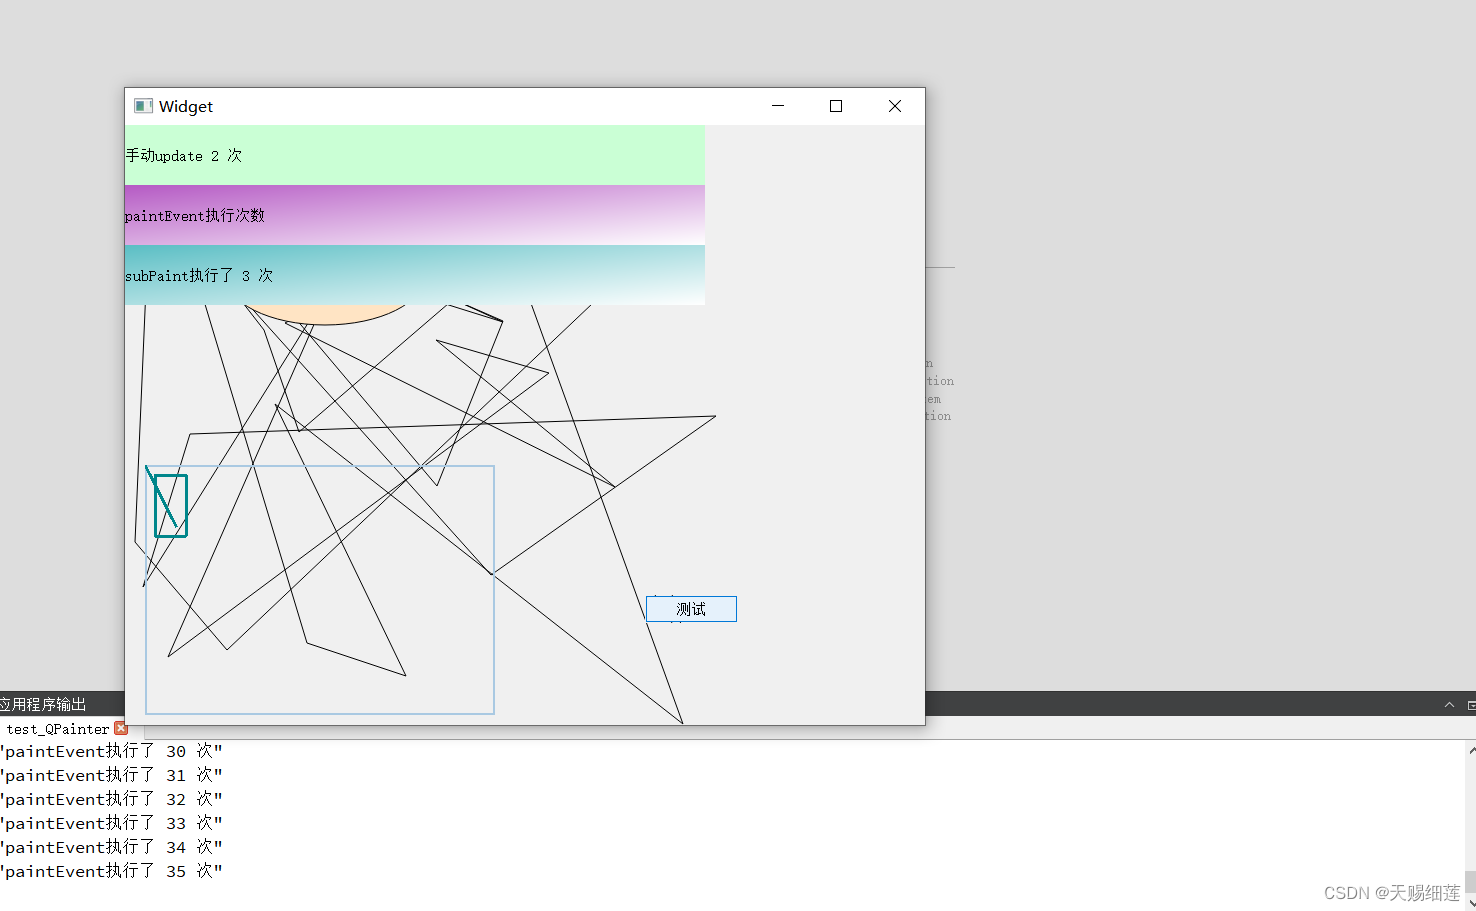
效果
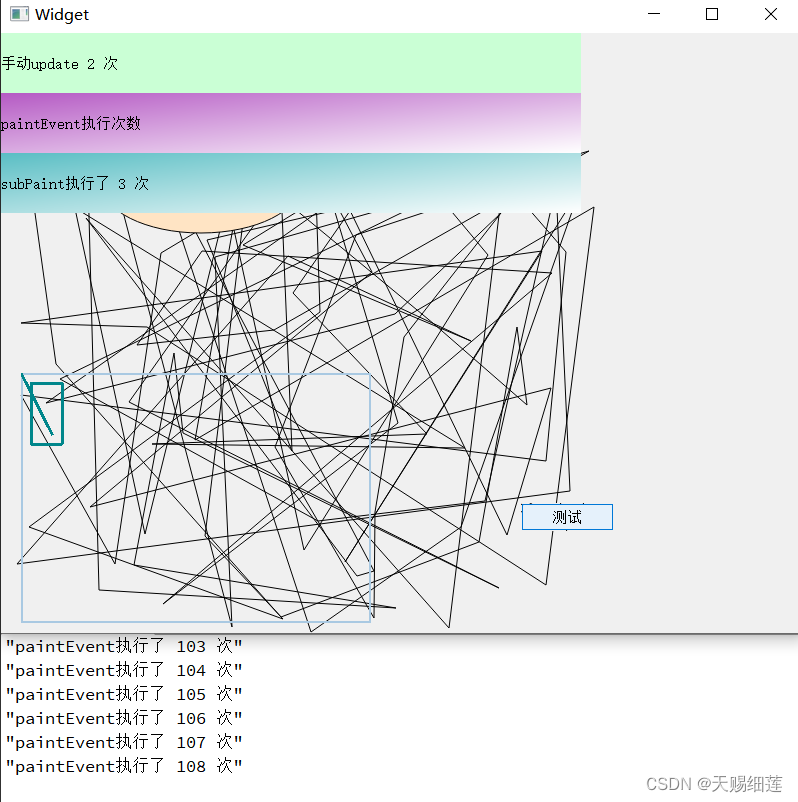
其中左下角的淡蓝色边框的矩形是ui中的一个子组件
其中的小矩形和直线是绘制上去的,也是本文的重点
注意:靠绘制上去的图像的层级是很低的,在各种子ui之下
源码
直接先送上源码
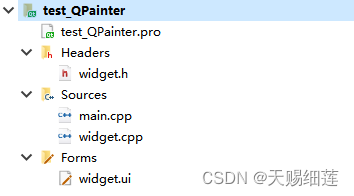
目录结构
.pro
QT += core
QT += gui
greaterThan(QT_MAJOR_VERSION, 4): QT += widgets

CONFIG += c++11

DEFINES += QT_DEPRECATED_WARNINGS

SOURCES += \
    main.cpp \
    widget.cpp

HEADERS += \
    widget.h

FORMS += \
    widget.ui
main.cpp
#include "widget.h"

#include <QApplication>

int main(int argc, char *argv[])
{
    QApplication a(argc, argv);
    Widget w;
    w.show();
    return a.exec();
}
widget.h
#ifndef WIDGET_H
#define WIDGET_H

#include <QWidget>

namespace Ui {
class Widget;
}

class Widget : public QWidget {
    Q_OBJECT

private:
    Ui::Widget *ui;

public:
    Widget(QWidget *parent = nullptr);
    ~Widget();

private:
    void subPaint();

protected:
    void paintEvent(QPaintEvent *event) override;
    bool eventFilter(QObject *watched, QEvent *event) override;
};
#endif  // WIDGET_H
widget.cpp
#include <QPainter>
#include <qDebug>

#include "ui_widget.h"
#include "widget.h"

/**
 * @brief Widget::Widget
 * @param parent
 */
Widget::Widget(QWidget *parent) : QWidget(parent), ui(new Ui::Widget) {
    ui->setupUi(this);

    /// init ui
    {
        /// 将目标子ui组件设置事件过滤
        ui->widget_show->installEventFilter(this);
    }

    /// init connect
    {
        /// 点击按钮,手动出发绘图事件
        connect(ui->btn_test, &QPushButton::clicked, this, [this]() {
            static int cnt = 0;
            cnt += 1;
            ui->lab_tips->setText(QString::asprintf("手动update %d 次", cnt));

            this->update();
        });
    }

}  // Constructor

/**
 * @brief Widget::~Widget
 */
Widget::~Widget() {
    delete ui;
}  // Destructor

/**
 * @brief Widget::subPaint
 */
void Widget::subPaint() {
    static int cnt = 0;
    cnt += 1;
    ui->lab_subPaint->setText(QString::asprintf("subPaint执行了 %d 次", cnt));

    static int x = 1, y = 1;
    x += 10, y += 20;

    QPen pen;
    pen.setWidth(3);
    pen.setColor(QColor(0, 134, 139));

    QPainter painter(ui->widget_show);
    painter.setPen(pen);

    /// 画直线,起点终点
    painter.drawLine(0, 0, x, y);
    /// 画矩形,起点,宽高
    painter.drawRect(10, 10, x, y);
}  // fun subPaint

/**
 * @brief Widget::paintEvent
 * @param event
 * 绘图事件
 * 在paintEvent中绘图只能指向this
 */
void Widget::paintEvent(QPaintEvent *event) {
    Q_UNUSED(event);
    static int cnt = 0;
    cnt += 1;
    // ui->lab_paintEvent->setText(QString::asprintf("paintEvent执行了 %d 次",
    // cnt));
    qDebug() << QString::asprintf("paintEvent执行了 %d 次", cnt);

    /// this是指定给图的对象
    QPainter painter(this);
    /// 设置抗锯齿
    painter.setRenderHint(QPainter::Antialiasing);

    /// 预处理多边形的点
    static int sideCount = 1;
    sideCount += 1;
    int point[sideCount * 2];
    for (uint32_t i = 0; i < sizeof(point) / sizeof(point[0]); i += 1) {
        point[i] = qrand() % qMin(this->width(), this->height());
    }
    // std::sort(point, point + sideCount);
    // std::sort(point + sideCount, point + sideCount * 2);

    /// 多少个点,点的坐标数组
    QPolygon polygon;
    polygon.setPoints(sideCount, point);
    /// 画多边形
    painter.drawPolygon(polygon);

    /// 给画家一把刷子
    QBrush brush(QColor(255, 228, 196));
    painter.setBrush(brush);
    /// 画椭圆 中心 长轴 短轴
    painter.drawEllipse(100, 100, 200, 100);
}  // override

/**
 * @brief Widget::eventFilter
 * @param watched
 * @param event
 * @return
 * 事件过滤
 */
bool Widget::eventFilter(QObject *watched, QEvent *event) {
    /// 1. 是绘图事件
    /// 2. 是目标子组件
    if (event->type() == QEvent::Paint && watched == ui->widget_show) {
        /// 响应函数
        subPaint();
    }
    return QWidget::eventFilter(watched, event);
}  // override
widget.ui
<?xml version="1.0" encoding="UTF-8"?>
<ui version="4.0">
 <class>Widget</class>
 <widget class="QWidget" name="Widget">
  <property name="geometry">
   <rect>
    <x>0</x>
    <y>0</y>
    <width>800</width>
    <height>600</height>
   </rect>
  </property>
  <property name="windowTitle">
   <string>Widget</string>
  </property>
  <widget class="QWidget" name="widget_show" native="true">
   <property name="geometry">
    <rect>
     <x>20</x>
     <y>340</y>
     <width>350</width>
     <height>250</height>
    </rect>
   </property>
   <property name="styleSheet">
    <string notr="true">border: 2px solid #A9C9E2; </string>
   </property>
  </widget>
  <widget class="QPushButton" name="btn_test">
   <property name="geometry">
    <rect>
     <x>520</x>
     <y>470</y>
     <width>93</width>
     <height>28</height>
    </rect>
   </property>
   <property name="text">
    <string>测试</string>
   </property>
  </widget>
  <widget class="QLabel" name="lab_tips">
   <property name="geometry">
    <rect>
     <x>0</x>
     <y>0</y>
     <width>580</width>
     <height>60</height>
    </rect>
   </property>
   <property name="styleSheet">
    <string notr="true">background-color: rgb(202, 255, 213);</string>
   </property>
   <property name="text">
    <string>只是ui中的一个label</string>
   </property>
  </widget>
  <widget class="QLabel" name="lab_paintEvent">
   <property name="geometry">
    <rect>
     <x>0</x>
     <y>60</y>
     <width>580</width>
     <height>60</height>
    </rect>
   </property>
   <property name="styleSheet">
    <string notr="true">background-color: qlineargradient(spread:pad, x1:0, y1:0, x2:1, y2:1, stop:0 rgba(181, 90, 196, 255), stop:1 rgba(255, 255, 255, 255));</string>
   </property>
   <property name="text">
    <string>paintEvent执行次数</string>
   </property>
  </widget>
  <widget class="QLabel" name="lab_subPaint">
   <property name="geometry">
    <rect>
     <x>0</x>
     <y>120</y>
     <width>580</width>
     <height>60</height>
    </rect>
   </property>
   <property name="styleSheet">
    <string notr="true">background-color: qlineargradient(spread:pad, x1:0, y1:0, x2:1, y2:1, stop:0 rgba(90, 190, 196, 255), stop:1 rgba(255, 255, 255, 255));</string>
   </property>
   <property name="text">
    <string>subPaint执行次数</string>
   </property>
  </widget>
 </widget>
 <resources/>
 <connections/>
</ui>
代码讲解
上文也说了void paintEvent(QPaintEvent *event) override;只能作用于this
本demo的作用目标为ui->widget_show
设置事件过滤
ui->widget_show->installEventFilter(this);
override eventFilter
bool eventFilter(QObject *watched, QEvent *event) override;
会对所有事件进行过滤,因此必须判断是什么事件,是什么对象产生的事件
/**
 * @brief Widget::eventFilter
 * @param watched
 * @param event
 * @return
 * 事件过滤
 */
bool Widget::eventFilter(QObject *watched, QEvent *event) {
    /// 1. 是绘图事件
    /// 2. 是目标子组件
    if (event->type() == QEvent::Paint && watched == ui->widget_show) {
        /// 响应函数
        subPaint();
    }
    return QWidget::eventFilter(watched, event);
}  // override
事件响应函数
在这个相应函数中编写我们需要的效果
这里就是核心就是在子组件中绘制图像QPainter painter(ui->widget_show);
具体绘制操作和eventFilter()编写是一样的
/**
 * @brief Widget::subPaint
 */
void Widget::subPaint() {
    static int cnt = 0;
    cnt += 1;
    ui->lab_subPaint->setText(QString::asprintf("subPaint执行了 %d 次", cnt));

    static int x = 1, y = 1;
    x += 10, y += 20;

    QPen pen;
    pen.setWidth(3);
    pen.setColor(QColor(0, 134, 139));

    QPainter painter(ui->widget_show);
    painter.setPen(pen);

    /// 画直线,起点终点
    painter.drawLine(0, 0, x, y);
    /// 画矩形,起点,宽高
    painter.drawRect(10, 10, x, y);
}  // fun subPaint
手动触发
这里用过一个按钮的点击来触发update()
每次update()都会产生事件,从而进入eventFilter()
/// 点击按钮,手动出发绘图事件
connect(ui->btn_test, &QPushButton::clicked, this, [this]() {
    static int cnt = 0;
    cnt += 1;
    ui->lab_tips->setText(QString::asprintf("手动update %d 次", cnt));

    this->update();
});
效果讲解
别忘了,除了代码中用按钮产生的update()
ui应用中还自带数不胜数的事件,这些都会随着用户的操作时不时的触发
如果在paintEvent()写上下面这个,那就会产生类似无限递归的操作
因为label的改变也是一种事件,然后又触发了paintEvent(),在该函数有修改了label,循环往复
这种问题是我们在开发过程中必须避免的
ui->lab_paintEvent->setText(QString::asprintf("paintEvent执行了 %d 次", cnt));